
When it comes to blogging, your images and links can be a very important part of the success of your post. One issue that I've comes across is making sure that my images look the way I want them to, especially when it comes to multiple images in one place.
I have designed the images on this blog myself, including the ads and social media icons on the sidebars. However, I've always been less than satisfied with the alignment in some of the images. Especially the images I use in our #TuesdayTen meme.
Originally I had created an HTML table with the images and links in them, but the design looks different on different blogs and made our meme look less than consistent. I wanted to fix the issue, but I wasn't completely sure how to go about it. A few Google searches later and I stumbled upon image mapping.
.png)
Essentially, image mapping creates coordinated for different parts of your image so that you can have multiple hyperlinks in one image. This means that I can create one image (as opposed to a table with multiple images) that links to different places. Now the images always line up correctly because they are all part of the same master image.
Would you like to learn how to do this yourself?
Follow along here:
Design your image
The first step is to design your image. I find that PicMonkey.com works well for this with their collage option. However you can also use Photoshop or Canva.com. When you design your image, you can align all the pieces so that they look exactly the way you want them and lock them together in one image. ***Make sure that you design your image the exact size that you want it to be when you use it.** (You cannot re-size a mapped image without losing the coordinates that are mapped on to it.) Save this image to your favorite image hosting site and get the URL for your image.Upload your image to be mapped


Map your image


and type in the URL that area should link to. If you want your link to open in a new window, click the events tab and select "_blank" in the drop down menu under "Target."

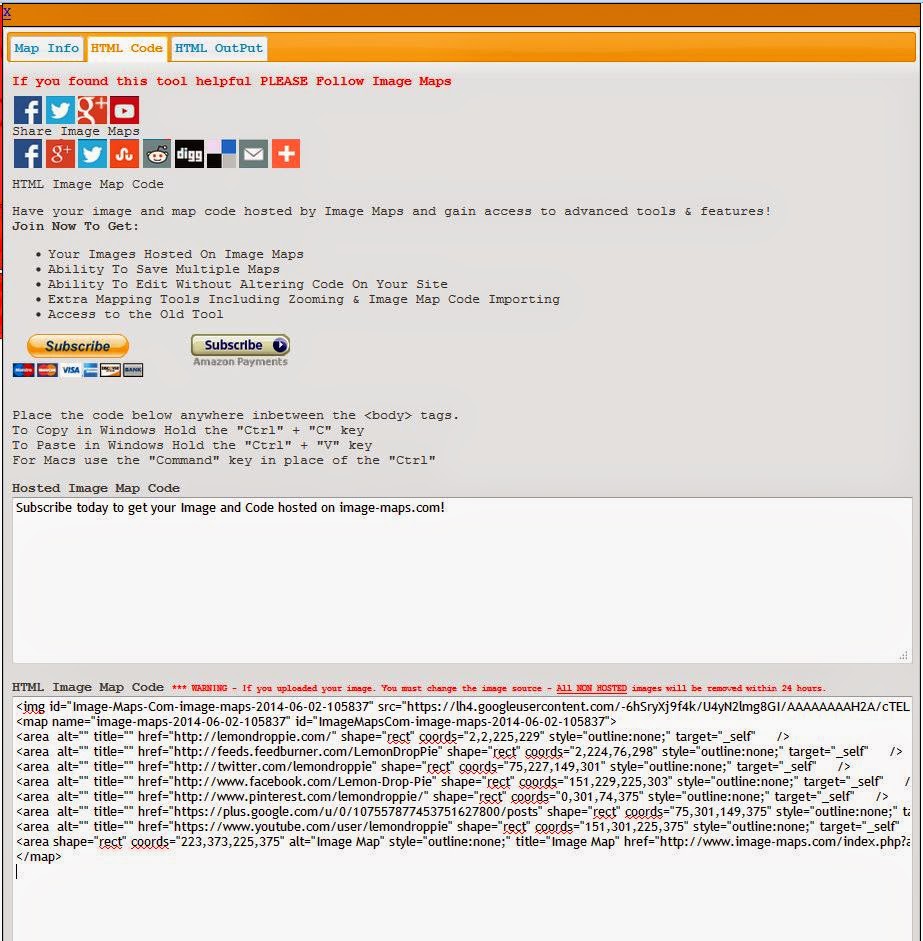
Get your mapped html
Once you've mapped the entire image the way you want it, get the code.
Impress the world with your multiply-linked images!
Now that you've got the html, you can insert it into your blogging editor the same way you would normally insert html code. You can move the images around in your post, but remember, you can't resize it without losing your links. If you've got any questions, let me know. I've had fun making image maps for the #TuesdayTen hosts and a few other things on my blog. If you like some help, just email me!

.png&description=Image Mapping Made Easy)
No comments :
Post a Comment
Thanks for stopping by! I would love to hear your thoughts. Please leave a link so I can return the visit.