

You can adapt this to fit any type of device that you want. I'm horrible at measuring things, so I don't have exact numbers for you, but you can still follow this pretty easily. Frances was actually going to make this herself, but she got distracted by a TV show and I wanted something to do!
To make a protective sleeve you will need:
- Two coordinating fabrics, a few inches wider than your device and two and a half times longer. We chose a regular cotton for the outside and a softer flannel for the inside.
- Thicker fabric for extra padding. We used a soft felt we had left over from something else. It needs to be the same size as your other fabric.
- Coordinating thread
- Buttons
- Chopstick (optional)


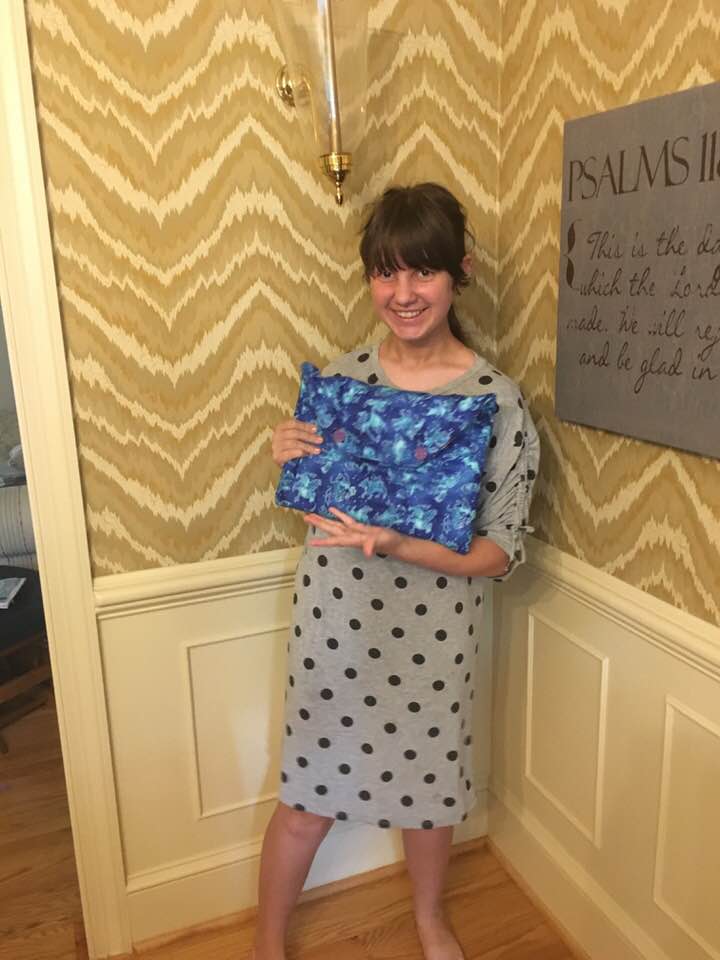
If you are adding a pocket, make another sandwich like you did for the main body of the sleeve. Sew just the top edge and turn the rest the right way out. Clip the bottom corners at a 45 degree angle and fold the sides and bottom in and iron them to help crease them and get them ready for sewing. Line up the top edge of the pocket with what will be the inside edge of the sleeve. Pin the pocket in place and top stitch it on.


Set your device in the middle of the fabric and fold the bottom up and top down to make sure it will fit in the way you want it to. Make sure you do this with the inside fabric facing out. Pin the edges and sew them up. Then flip the whole thing right side out.

Slide your device inside just to make sure everything fits. Turn down the top flap and decide where you want your buttons. Make their location and then sew your bottom holes on the flap. Add your buttons in the appropriate locations.
 |
| Make sure to yell at your button hole foot. That's the only way to make mine work, apparently. |


This month's Blog With Friends theme is "Rock It!" If you want to see how my friends interpreted that, keep reading!

Karen of Baking In A Tornado
rocks the kitchen with this Giant Brownie Bowl Party Sundae


Part-time working Hockey Mom, Tamara, shows us how to (try to) Rock her busy Life as a part-time working Hockey Mom


No comments :
Post a Comment
Thanks for stopping by! I would love to hear your thoughts. Please leave a link so I can return the visit.